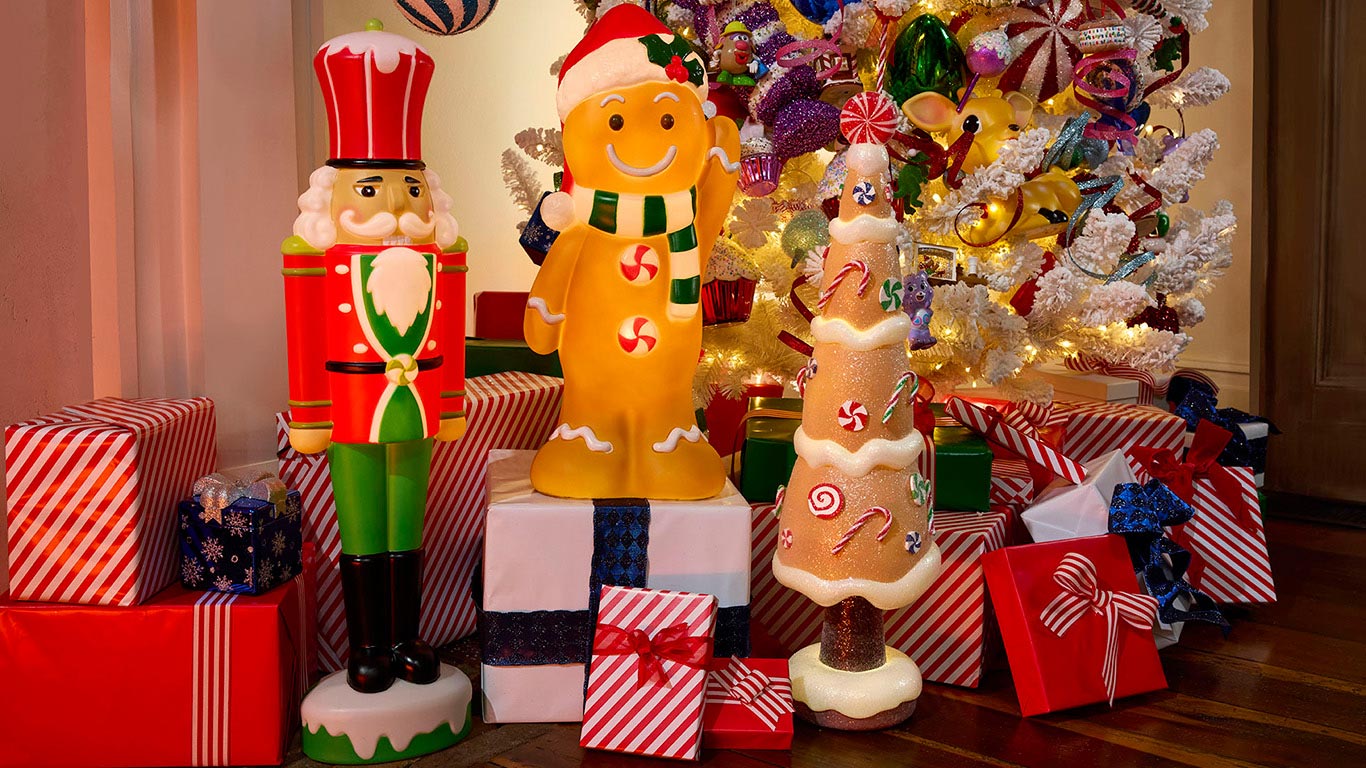
7 Blow Mold Christmas Decoration Ideas To Fill Your Holidays with Cheer
Blow mold Christmas decorations are iconic vintage ornaments made from molded plastic, famous for their durability and vibrant colors. These decorations, popularized in the mid-20th century, became beloved staples in holiday decor for their charming and enduring appeal.
History and Popularity
Originating in the 1930s as simple lighting elements, blow mold decorations evolved by the 1950s into colorful, plastic ornaments. They gained popularity due to their affordability, durability, and ability to withstand outdoor conditions, becoming the go-to choice for festive displays.
7 DIY Blow Mold Decoration Ideas
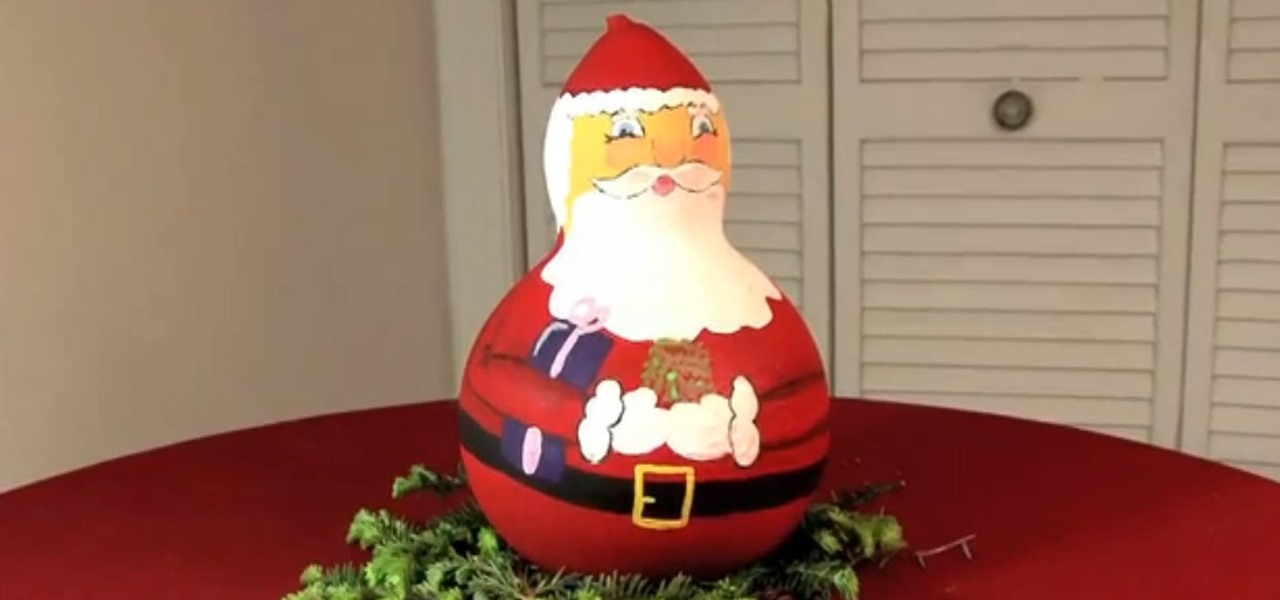
1. Santa Claus Blow Mold Decoration
Materials Needed:
- Large plastic container (such as a gallon jug)
- Red, white, and black paint
- Paintbrushes
- LED lights
- Glue
Steps:
- Preparation: Clean and dry the plastic container thoroughly.
- Painting Santa’s Suit: Use red paint to coat the container’s body. Let it dry completely before applying a second coat.
- Adding Details: Paint a belt and boots with black paint. Create a belt buckle with gold or yellow paint.
- Santa’s Face: Paint Santa’s face with flesh-colored paint. Add eyes, a nose, and a smile using black and white paint.
- Beard and Hat: Apply white paint for Santa’s beard and trim. Paint his hat with red and white stripes.
- Lighting: Cut out areas for LED lights on Santa’s suit, then glue the lights from inside the container to create the glowing effect.
2. Snowmen Trio Blow Mold Decoration

Materials Needed:
- Three recycled plastic bottles (different sizes)
- White paint
- Paintbrushes
- Black and orange paint or markers
- Fabric scraps (optional)
Steps:
- Preparation: Clean and dry the plastic bottles thoroughly.
- Painting: Coat each bottle with white paint. Apply multiple coats for a solid, even color.
- Adding Features: Paint or draw eyes, a mouth, and buttons using black paint or markers.
- Nose and Arms: Create orange carrot-shaped noses and black stick-like arms using paint or cut-out fabric scraps.
- Assembly: Arrange the bottles in a trio, with the largest as the base and the smallest on top. Glue them together if necessary.
- Finishing Touches: Use scarves or other fabric scraps to add accessories if desired.
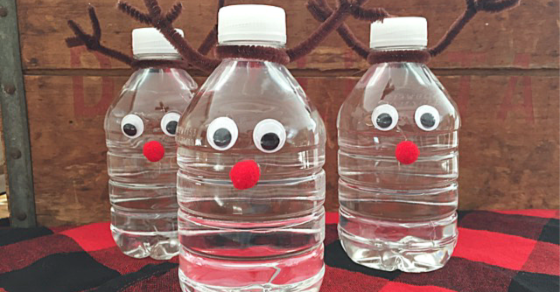
3. Reindeer Family Blow Mold Decoration
Materials Needed:
- Empty plastic milk jugs (various sizes for different reindeer)
- Brown paint
- Black paint or markers
- Red paint or markers (for noses)
- Googly eyes (optional)
- Glue
- Scissors
- Paintbrushes
Steps:
- Preparation: Clean and dry the plastic milk jugs thoroughly. Select different-sized jugs to create the varying sizes for reindeer (e.g., larger jug for the parent reindeer, smaller jugs for offspring).
- Painting the Base Coat: Apply a base coat of brown paint to all the jugs, covering them entirely. Allow the paint to dry completely before applying a second coat for better coverage.
- Adding Features:
- Eyes: If using googly eyes, attach them to the jugs with glue. Alternatively, draw or paint eyes using black paint or markers.
- Noses: Paint or draw red noses on the reindeer using red paint or markers. Allow them to dry.
- Antlers:
- Cut antler shapes out of brown cardboard or sturdy paper.
- Attach the antlers to the jugs using glue. For smaller jugs, create smaller antlers to maintain proportion.
- Hooves and Details:
- Using black paint or markers, add hooves to the bottom of each jug.
- Paint or draw details like mouths, ears, and any additional features you’d like on the reindeer.
- Assembly:
- Arrange the jugs in a family formation, placing the larger jug as the parent and smaller jugs as the offspring.
- Glue the jugs together if desired, ensuring stability and alignment.
- Finishing Touches:
- Add final touches, such as ribbons or accessories around their necks, or other decorative elements for a personalized touch.
- Let the glue and paint completely dry before displaying your Reindeer Family decoration.
Read Also: Countdown To 2024: A Glimpse Into The Year We Can’t Wait For!
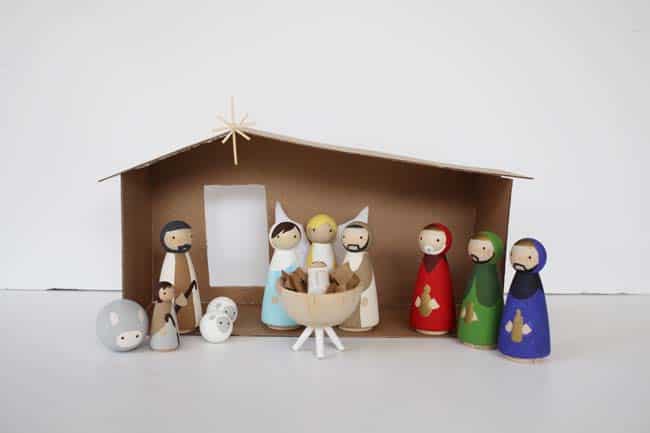
4. Nativity Scene Blow Mold Decoration
Materials Needed:
- Small plastic figurines (for Mary, Joseph, baby Jesus, angels, shepherds, animals, etc.)
- Shallow plastic container or tray
- Paint
- Paintbrushes
- Glue
Steps:
- Gather Figurines: Collect small plastic figurines representing characters from the Nativity story. Ensure you have figures for Mary, Joseph, baby Jesus in the manger, angels, shepherds, animals, and any additional characters you’d like.
- Preparation: Choose a shallow plastic container or tray to serve as the base for your Nativity Scene. Ensure it’s large enough to accommodate the figurines and offers enough space for arrangement.
- Painting the Base (Optional): If desired, paint the inside of the container with a background scene, such as a night sky, a stable, or a Bethlehem landscape. Allow the paint to dry completely.
- Arranging the Scene:
- Place the figurines strategically within the container to create the Nativity Scene. Position Mary and Joseph near the manger with baby Jesus, angels above, and shepherds and animals surrounding them.
- Consider the layout and composition, arranging the figures in a way that tells the Nativity story effectively.
- Gluing Figures (Optional):
- Once satisfied with the arrangement, use glue to secure the figurines in place. Be mindful not to use excessive glue that might damage the figures or the container.
- Adding Details (Optional):
- Enhance the scene by adding small details or decorations around the figurines, such as hay, small stones or pebbles, miniature plants, or fabric for a backdrop or flooring.
- Finishing Touches:
- Review the scene and make any final adjustments to the arrangement or details to ensure a visually appealing and meaningful Nativity display.
This Nativity Scene blow mold decoration serves as a beautiful and heartfelt representation of the Christmas story, ideal for indoor displays, mantelpiece decorations, or as a centerpiece for holiday gatherings, bringing the spirit of the season into your home.
5. Gingerbread House Blow Mold Decoration

Materials Needed:
- Plastic containers (various sizes and shapes for house components)
- Brown paint
- White paint or icing (for decoration)
- Paintbrushes
- Glue
- Assorted candy or decorative items (optional)
Steps:
- Selecting Containers: Choose plastic containers of different sizes and shapes to represent the various parts of the gingerbread house (walls, roof, chimney, etc.).
- Preparation: Clean and dry the plastic containers thoroughly before painting.
- Painting the Components:
- Walls and Roof: Use brown paint to coat the containers representing the walls and roof sections. Apply multiple coats if needed for a solid color.
- Chimney and Additional Parts: Paint additional containers for the chimney or any other components of the gingerbread house.
- Decorating Details:
- White Icing Effect: Once the brown paint is dry, use white paint or icing to create the characteristic “icing” effect along the edges of the walls and roof. You can use paint or a decorating tip to mimic icing lines.
- Candy Decorations (Optional): Add colorful candy or decorative items onto the painted containers using glue to create a festive and playful look.
- Assembly:
- Arrange the painted and decorated containers to assemble the gingerbread house. Consider the layout and design you’d like, stacking containers for walls and positioning the roof sections.
- Use glue to secure the containers together. Ensure the structure is stable and aligned.
- Adding Final Touches:
- Review the assembled gingerbread house and make any necessary adjustments or additions to enhance its appearance.
- Consider adding extra decorations or details, like windows or doors, using paint or additional decorative items.
- Displaying the House:
- Once the gingerbread house is complete and dry, place it on a suitable display surface for showcasing in your holiday decor.
This Gingerbread House blow mold decoration brings a touch of sweetness and warmth to your holiday decorations, perfect for tabletop displays or as a centerpiece, spreading joy and cheer during the festive season.
6. Christmas Tree Blow Mold Decoration

Materials Needed:
- Plastic bottles (various sizes)
- Green paint
- Paintbrushes
- Assorted decorations (optional: beads, glitter, small ornaments)
- Glue
Steps:
- Selecting Bottles: Gather plastic bottles of different sizes, ranging from large to small, to create the tiers of the Christmas tree.
- Preparation: Clean and dry the plastic bottles thoroughly before painting.
- Painting the Bottles:
- Base Coat: Use green paint to cover the bottles entirely. Apply multiple coats for a solid, vibrant color. Let each coat dry completely before adding the next.
- Creating Tree Tiers:
- Arrangement: Arrange the painted bottles from largest to smallest, creating tiers that resemble a Christmas tree shape.
- Stacking: Stack the bottles, placing the largest at the bottom and gradually decreasing in size as you move up.
- Decorating the Tree:
- Adding Details: Use additional paint, beads, glitter, or small ornaments to decorate the painted bottles. Create a festive design by painting on decorations or gluing on ornaments.
- Securing the Tiers:
- Gluing the Tiers: Once satisfied with the decoration, glue the tiers together to form the complete Christmas tree structure. Ensure each tier is securely attached and aligned.
- Final Touches:
- Review and Adjustments: Check the assembled tree for any adjustments or additional decorations needed to enhance its appearance.
- Drying Time: Let the glue and paint fully dry before displaying your Christmas Tree blow mold decoration.
- Displaying the Tree:
- Place the completed Christmas tree on a suitable display surface, such as a tabletop or mantle, to showcase in your holiday decor.
This Christmas Tree blow mold decoration adds a festive and decorative element to your home during the holiday season, offering a personalized touch to your overall decor scheme.
7. Holiday Lanterns Blow Mold Christmas Decoration
Materials Needed:
- Plastic jars or containers (various sizes)
- Paint (holiday-themed colors)
- Paintbrushes
- Battery-operated tea lights or candles
- Glitter, ribbons, or decorative elements (optional)
- Glue
Steps:
- Selecting Containers: Gather plastic jars or containers in various sizes, ensuring they are suitable for creating lanterns.
- Preparation: Clean and dry the plastic jars or containers thoroughly before painting.
- Painting the Containers:
- Base Coat: Use holiday-themed paint colors to cover the containers entirely. Apply multiple coats for better coverage and vibrancy. Let each coat dry completely before adding the next.
- Creating Decorative Designs:
- Painted Designs: Paint holiday-themed designs or patterns onto the containers, such as snowflakes, stars, or holly leaves.
- Adding Glitter (Optional): For extra sparkle, apply glitter to the painted designs while the paint is still wet. Shake off excess glitter once it’s dry.
- Gluing Decorative Elements (Optional):
- Adding Ribbons or Decorations: Glue ribbons, bows, or other decorative elements to the containers to enhance their festive appearance.
- Inserting Lights:
- Placing Tea Lights or Candles: Once the paint and decorations are dry, place battery-operated tea lights or candles inside the containers. Ensure they’re positioned securely.
- Final Touches:
- Checking Stability: Check the stability of the lanterns with the inserted lights to ensure they stand or sit securely without any risk of tipping.
- Displaying the Lanterns:
- Place the completed Holiday Lanterns in desired locations, such as tabletops, mantles, or windowsills, to create a warm and cozy holiday ambiance.
These Holiday Lanterns, adorned with festive designs and illuminated with gentle light, add a touch of warmth and holiday spirit to your home decor, creating a cozy atmosphere during the festive season.
Homemade Holiday Magic
Making your own blow mold Christmas decorations brings joy and a personal touch to the holidays. From reindeer families to Nativity scenes and twinkling lanterns, creating these decorations adds a special warmth to your home. Each step of crafting – painting, decorating, and assembling – is a chance to share in the festive spirit. As you display these handmade treasures, remember the love poured into them and the memories they bring. Embrace the joy of crafting and tradition by adding these homemade decorations, making your holiday season even more magical.